JetPlus InkJet Transfer Paper


Product Detail
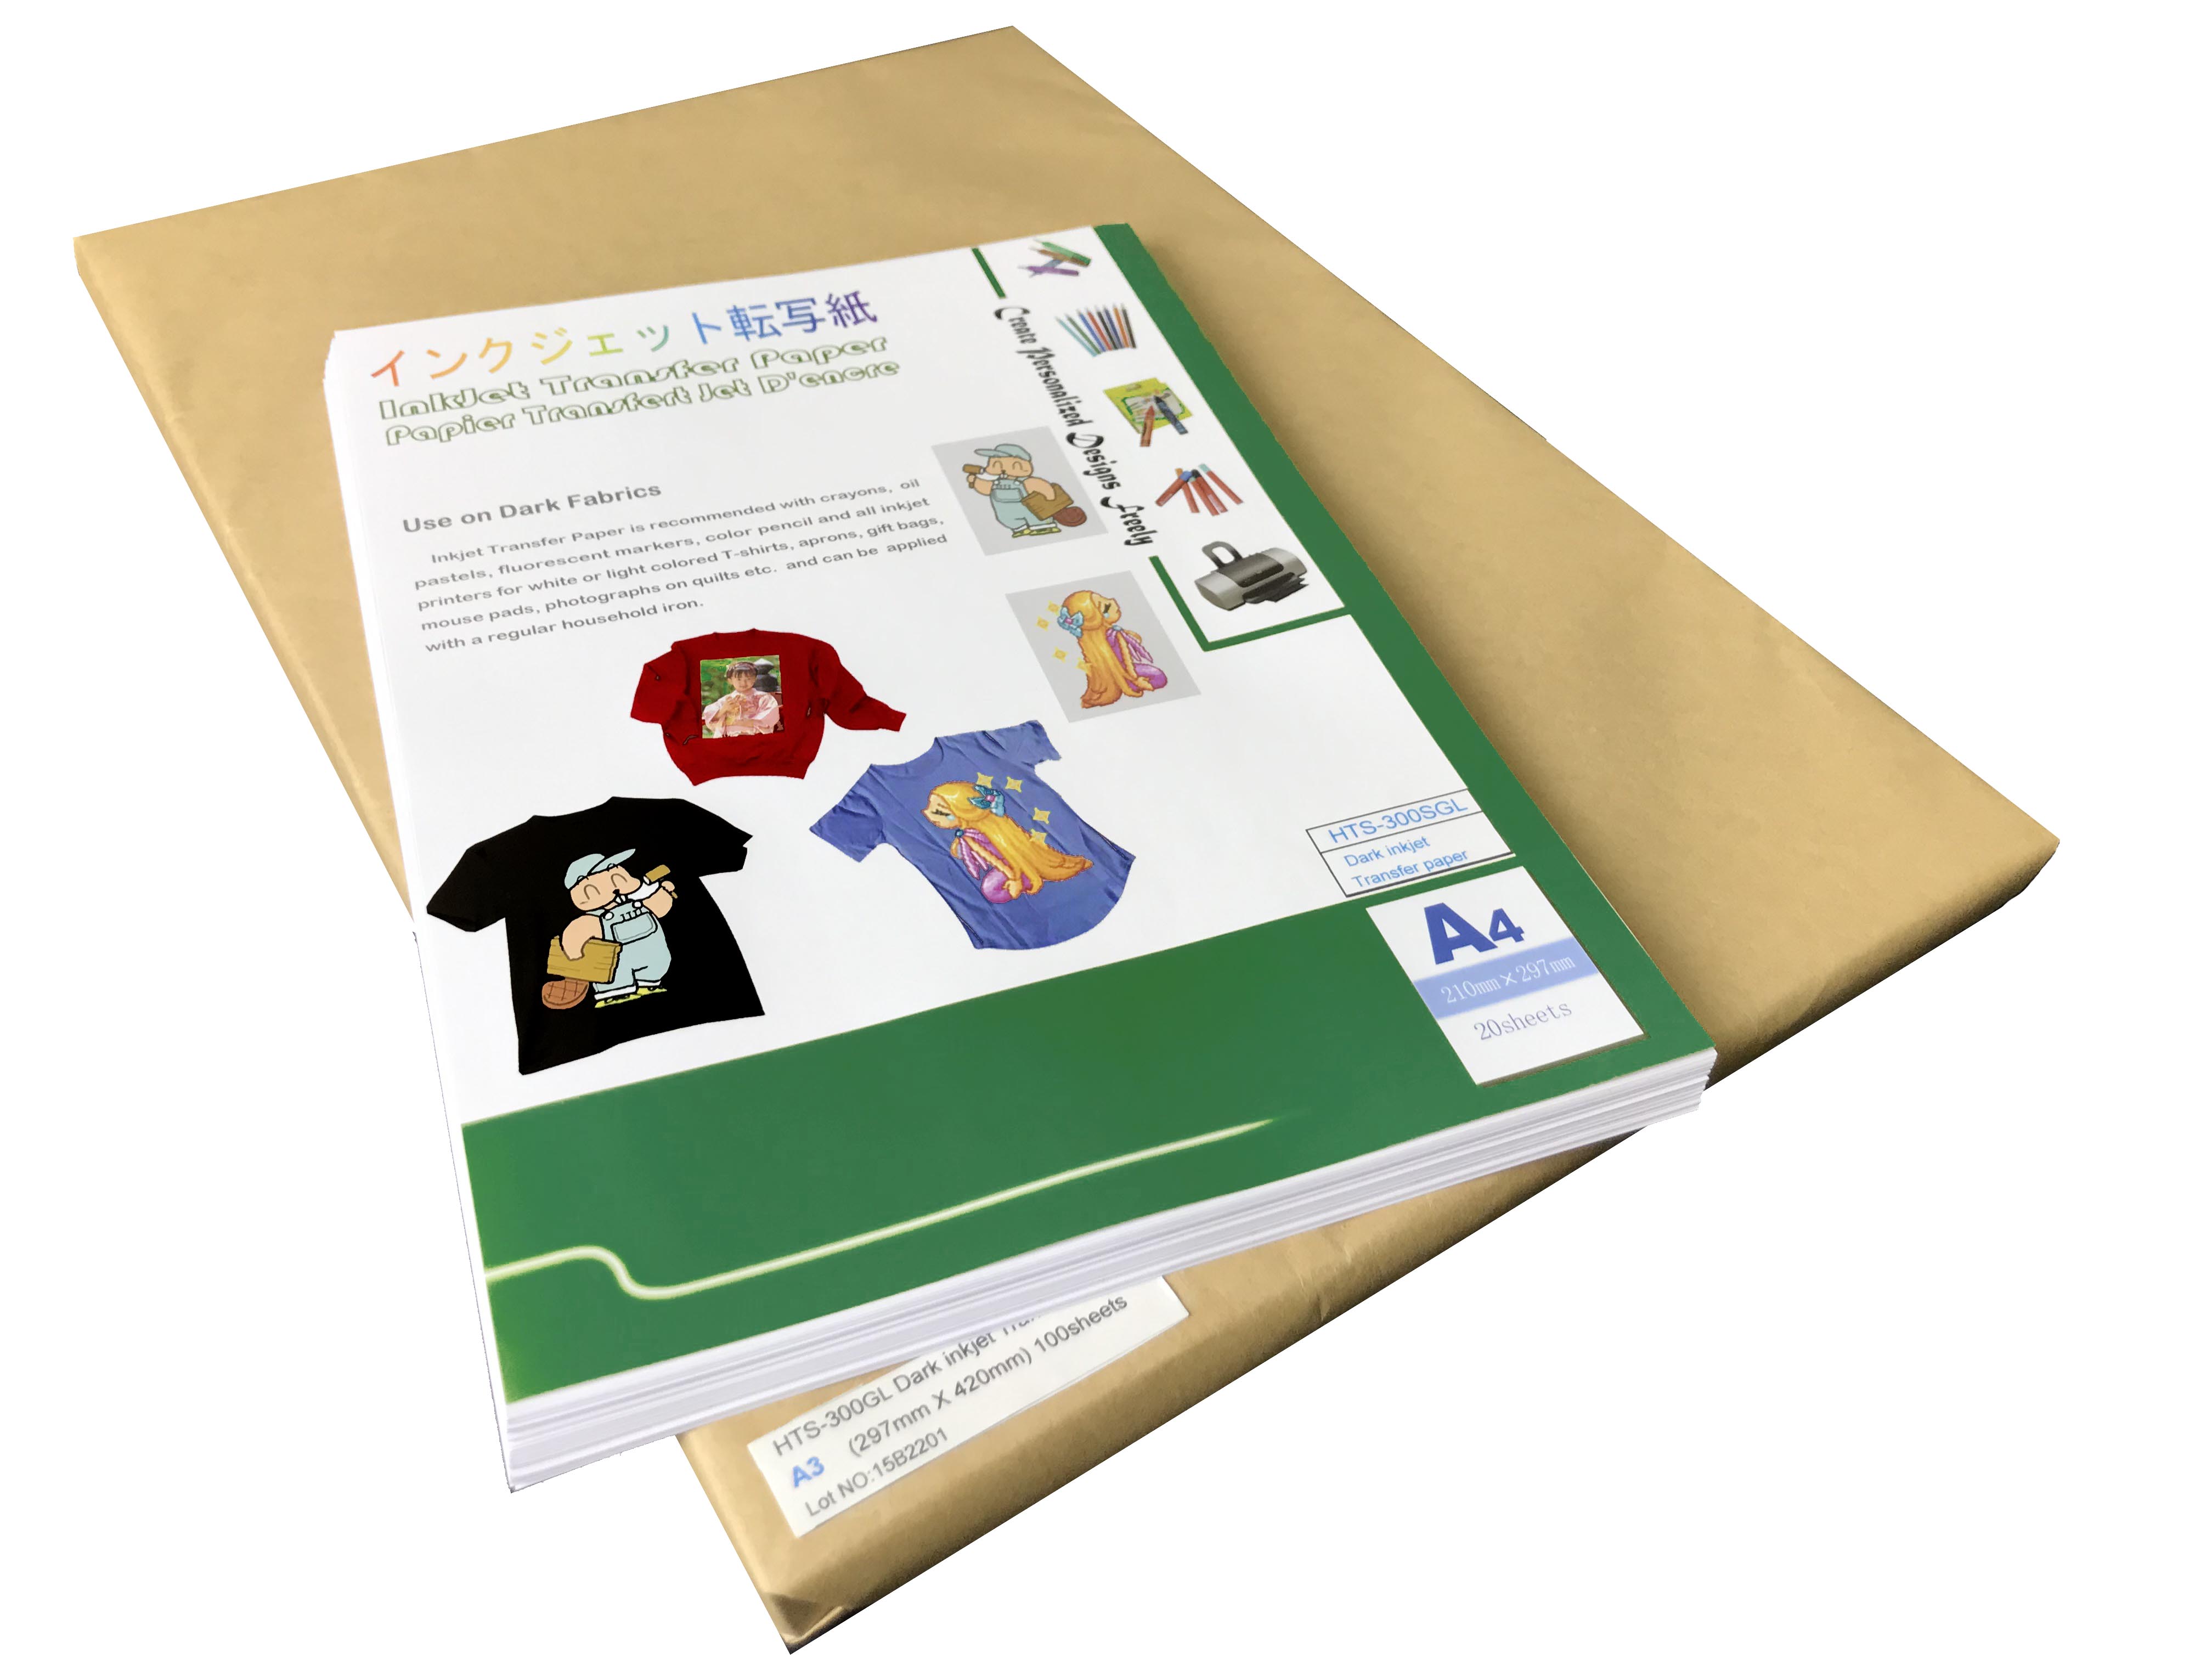
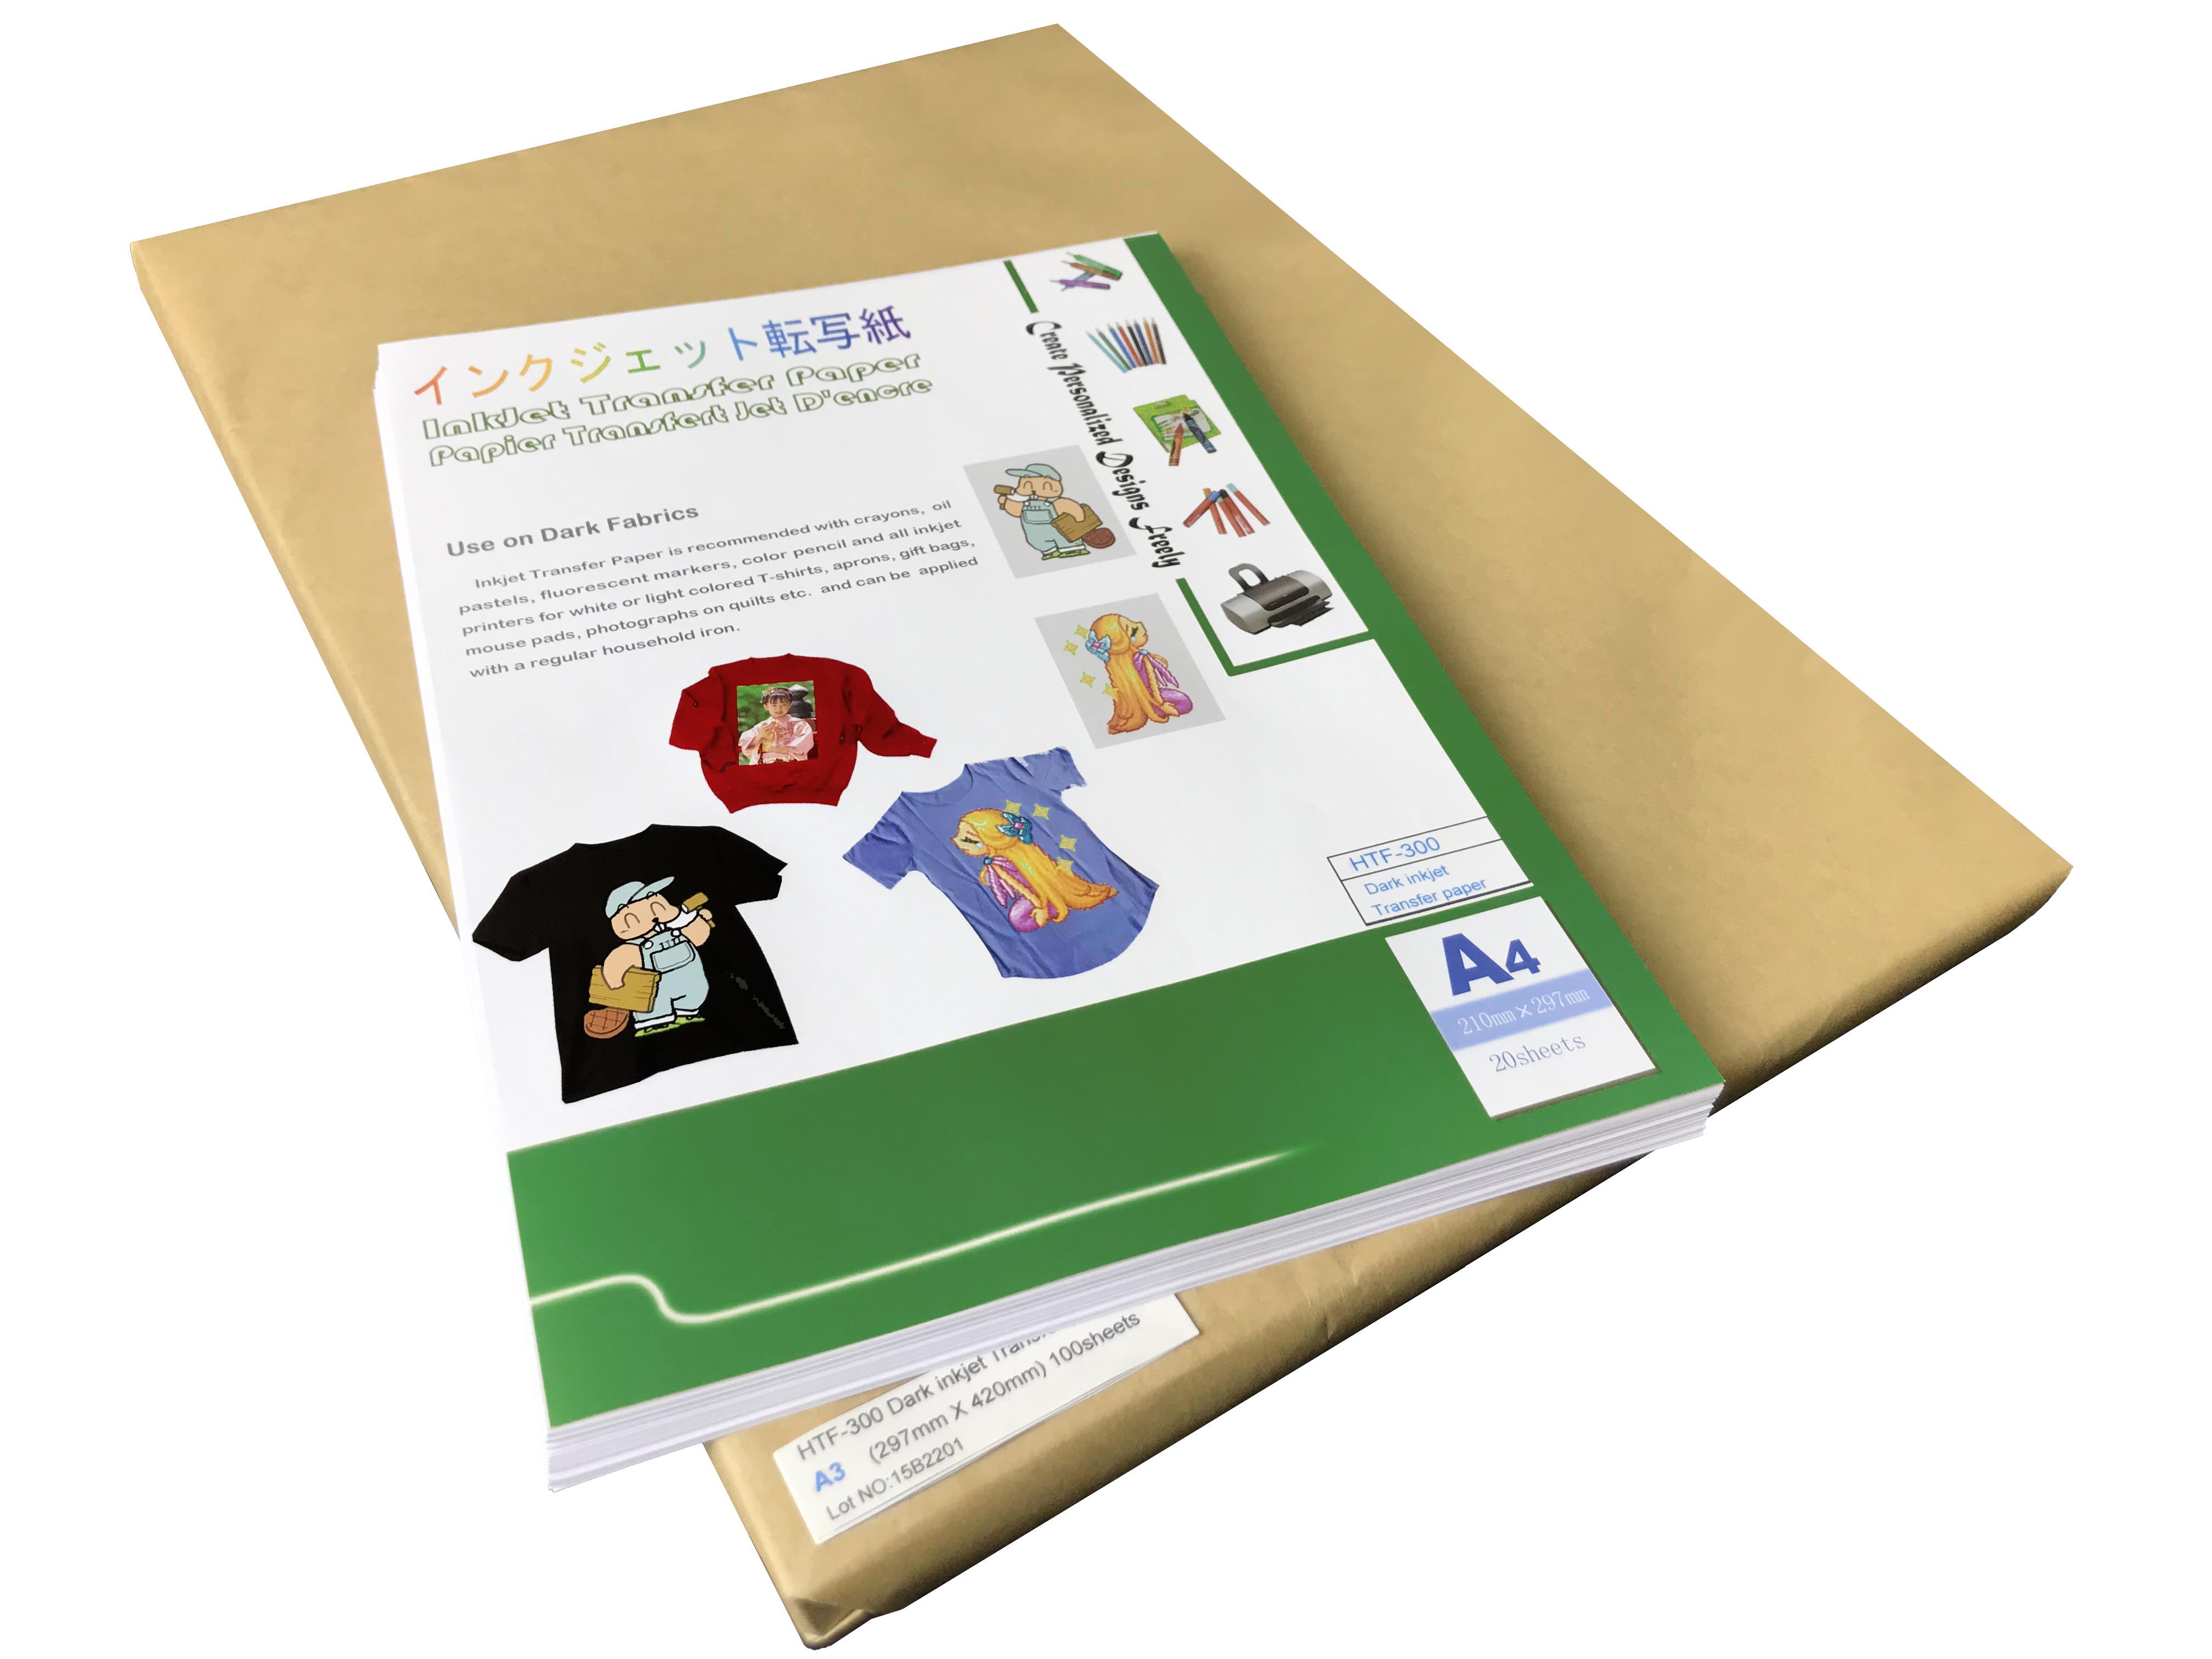
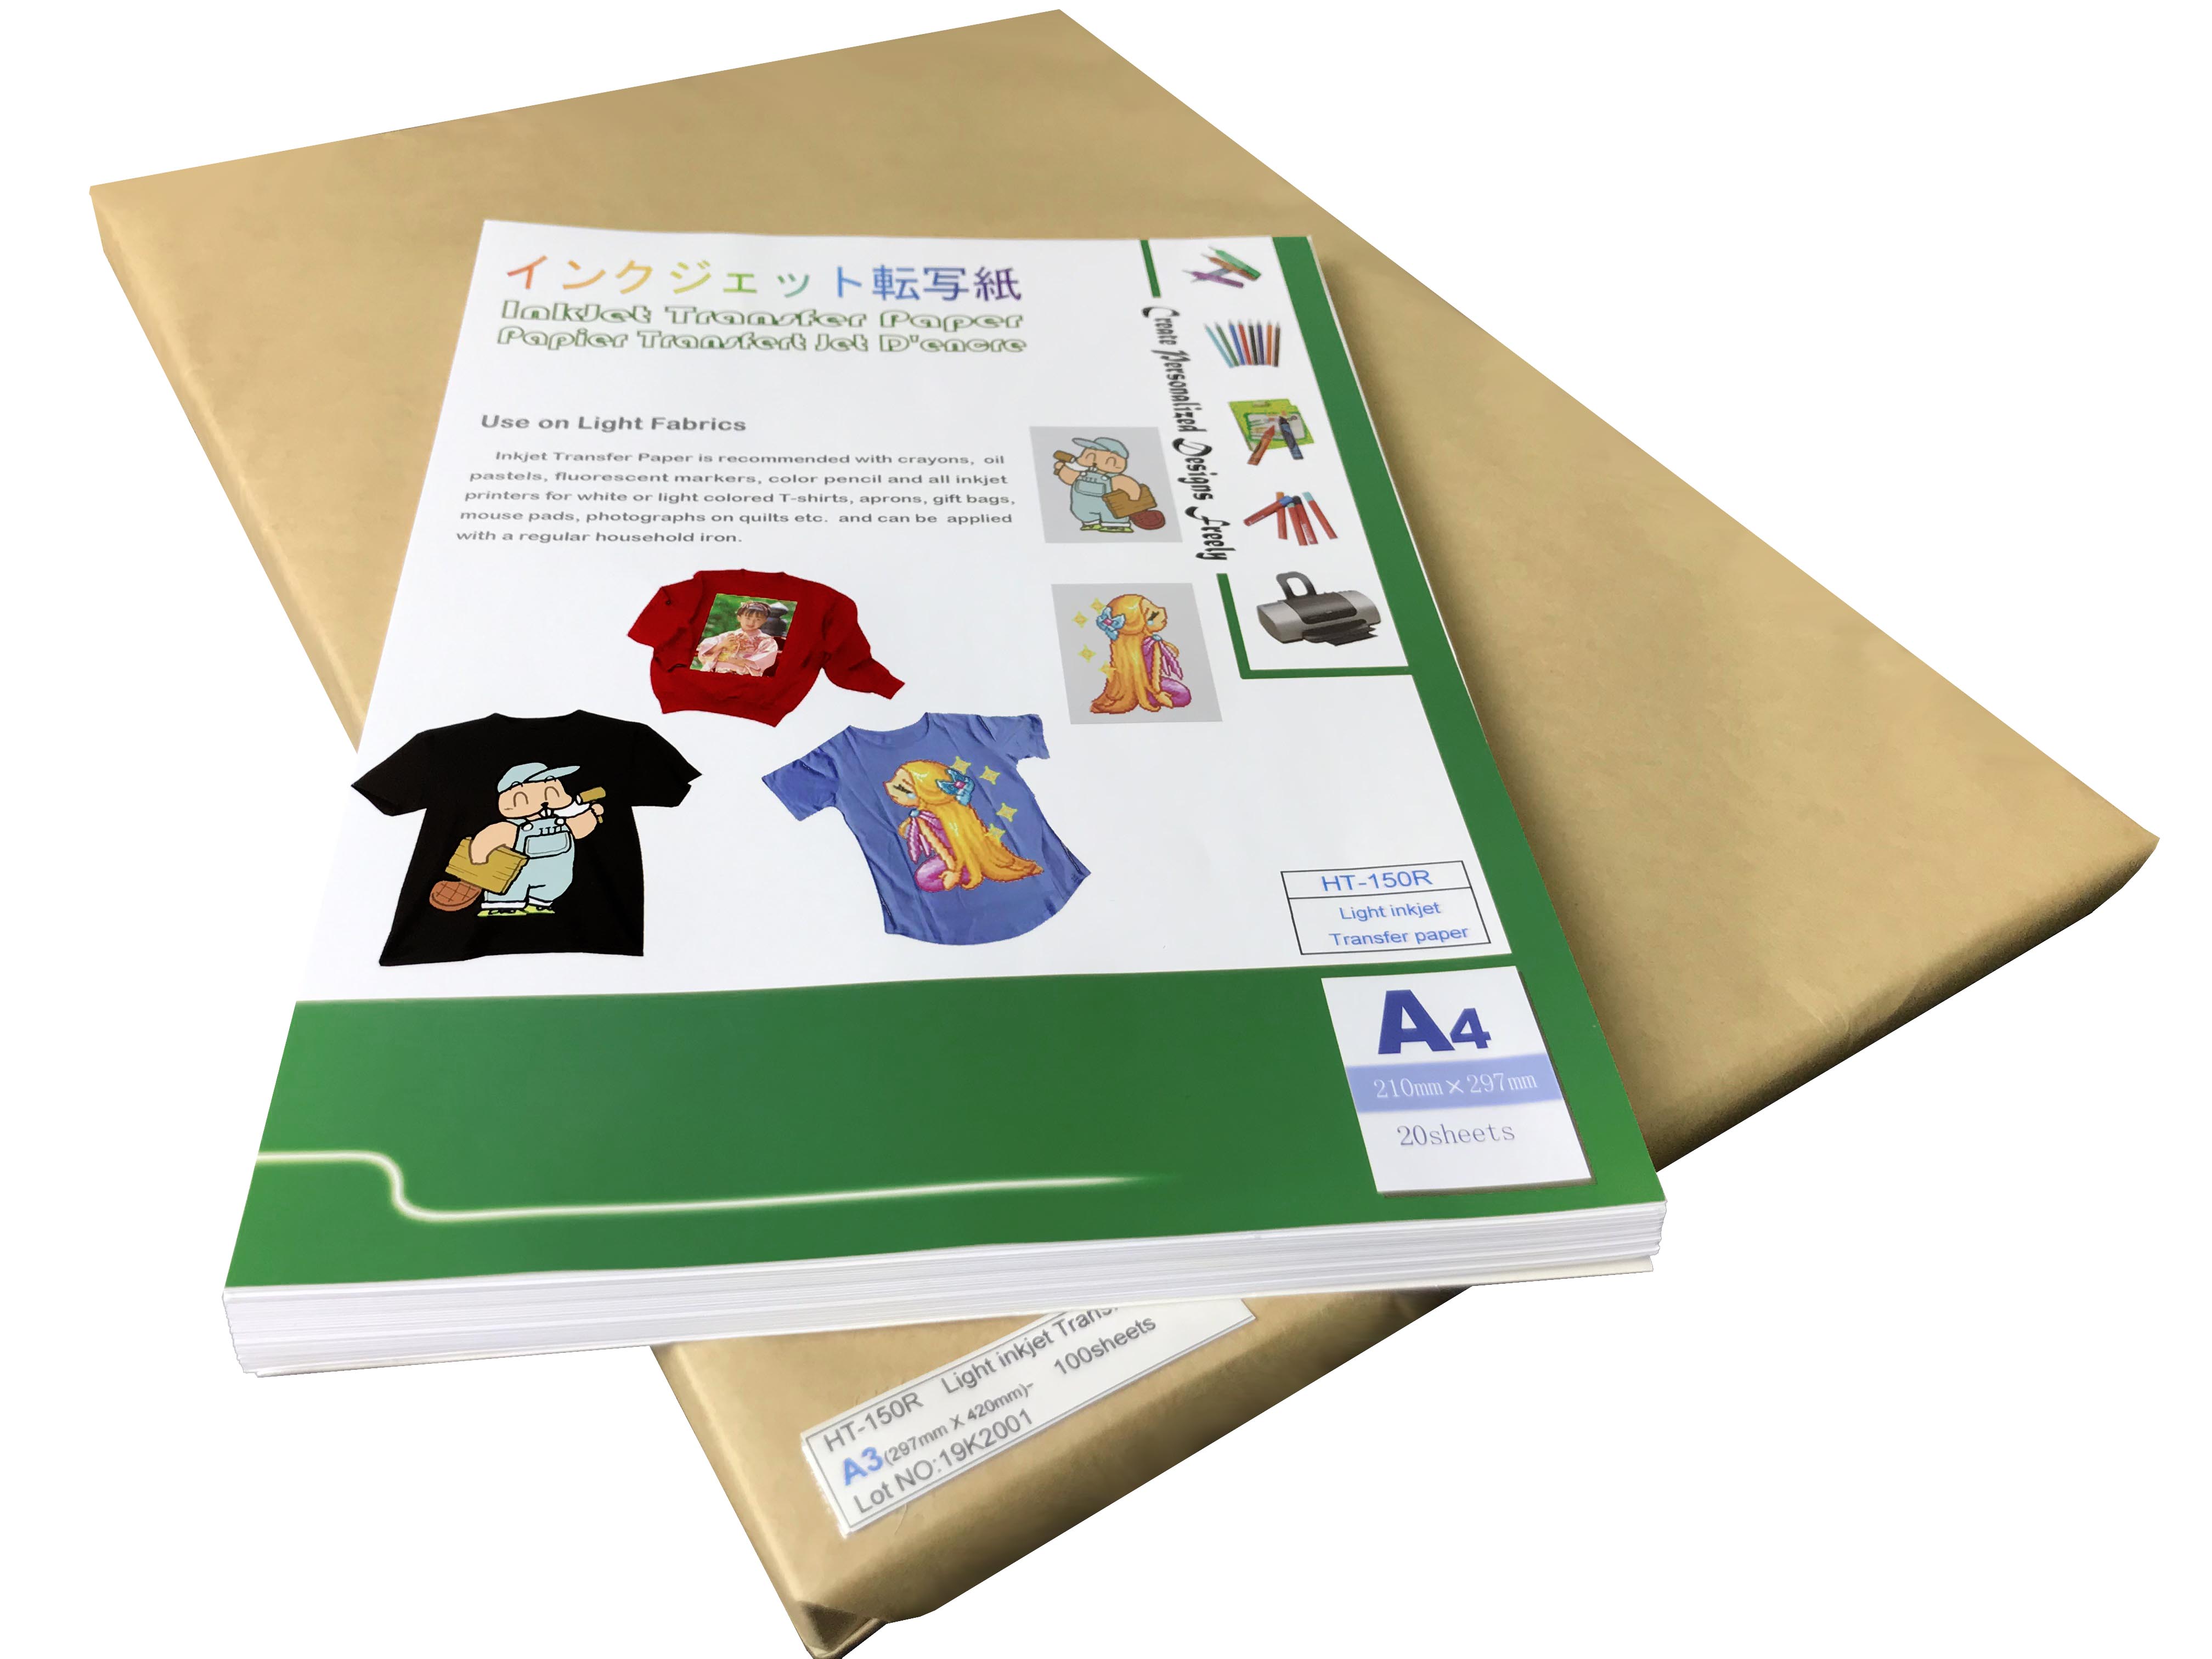
JetPlusTM Light & Dark
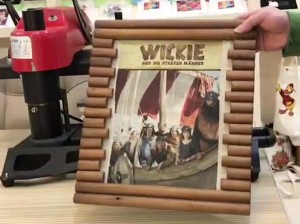
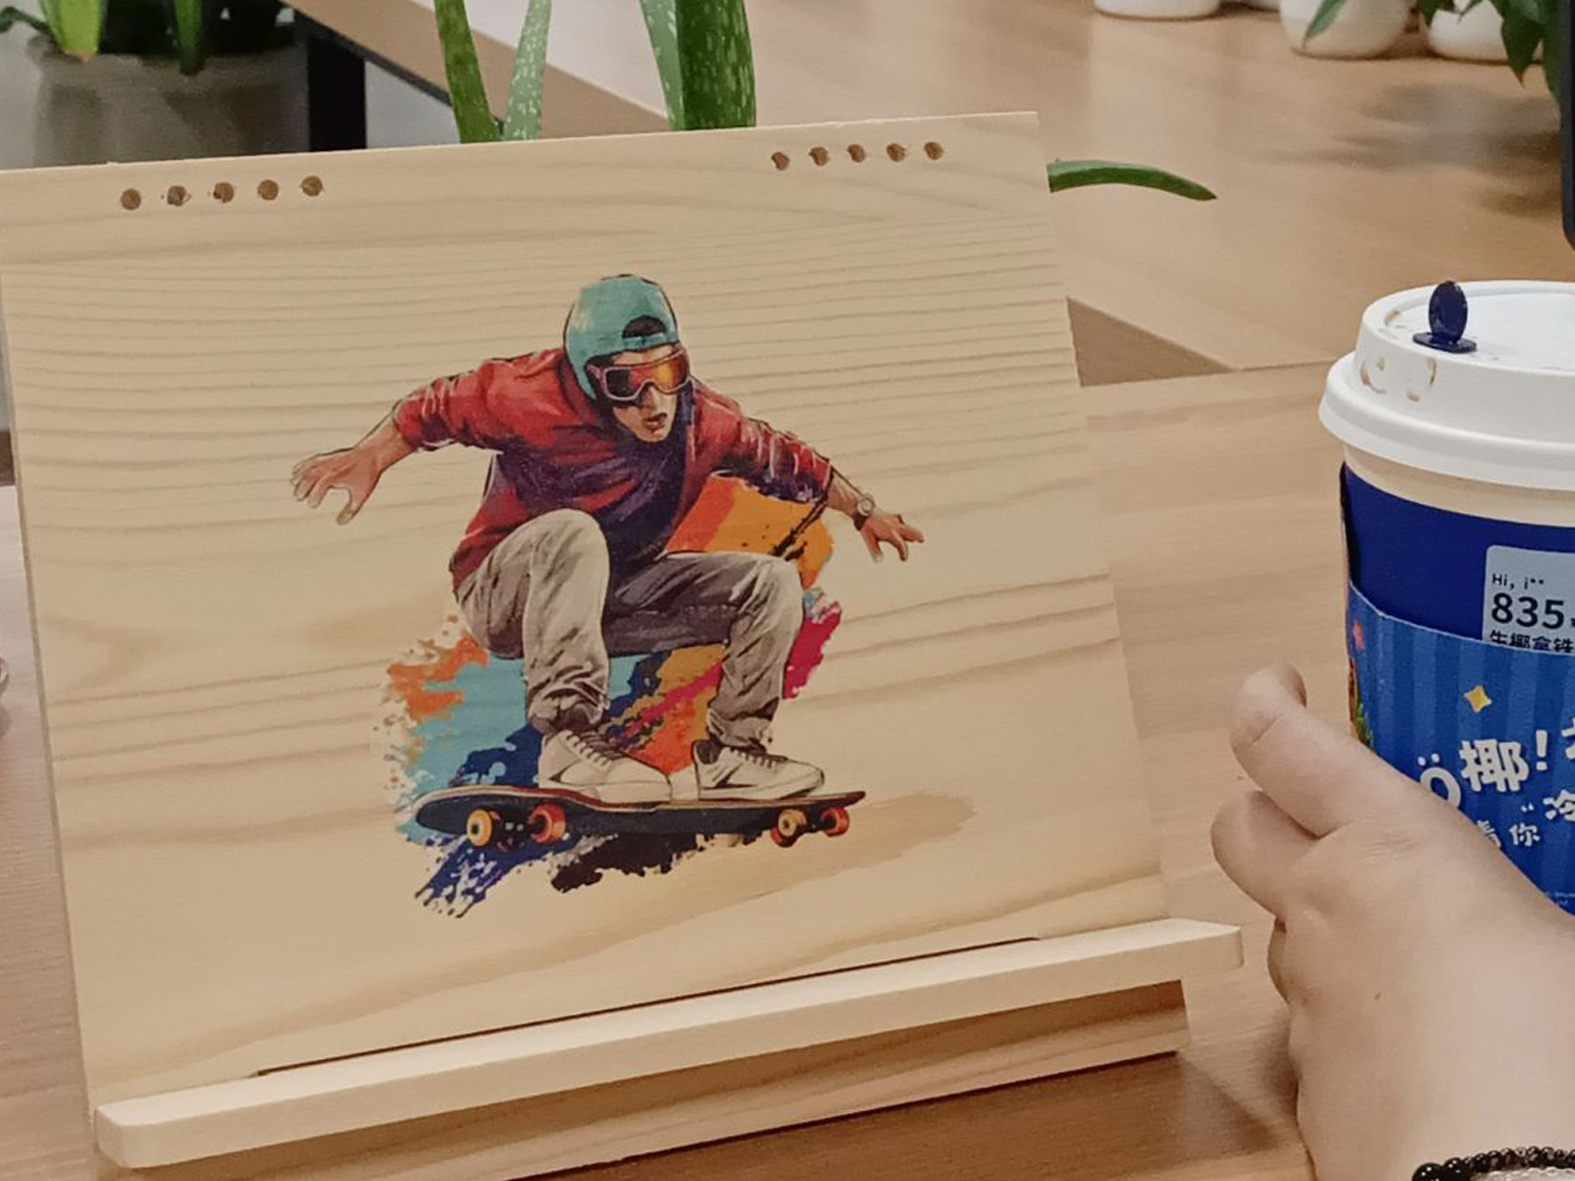
JetPlusTM Light & Dark inkjet transfer paper which are developed and produced made by Alizarin Technologies Inc. based on the needs of the South & North American market with popular affordable, easy-to-use, its are recommended with wax crayons, Oil pastels, fluorescent markers, color pencil and all inkjet printers for 100% cotton fabric, cotton/polyester blend, 100%polyester etc. by a regular household iron, Mini heat press, or heat press machine.
JetPlusTM Light Inkjet Transfer Paper
Product Uasge
Printer Recommendations
printed by all kinds of inkjet printers such as :Epson Stylus Photo L8058, Canon Mega Tank, HP Deskjet 1280, HP Photosmart D7168, HP Officejet Pro K550, etc
|
Canon MegaTank |
HP Smart Tank |
Epson L8058 |
 |
 |
 |
Step by step: Deskjet Printers for Printing on T-shirts
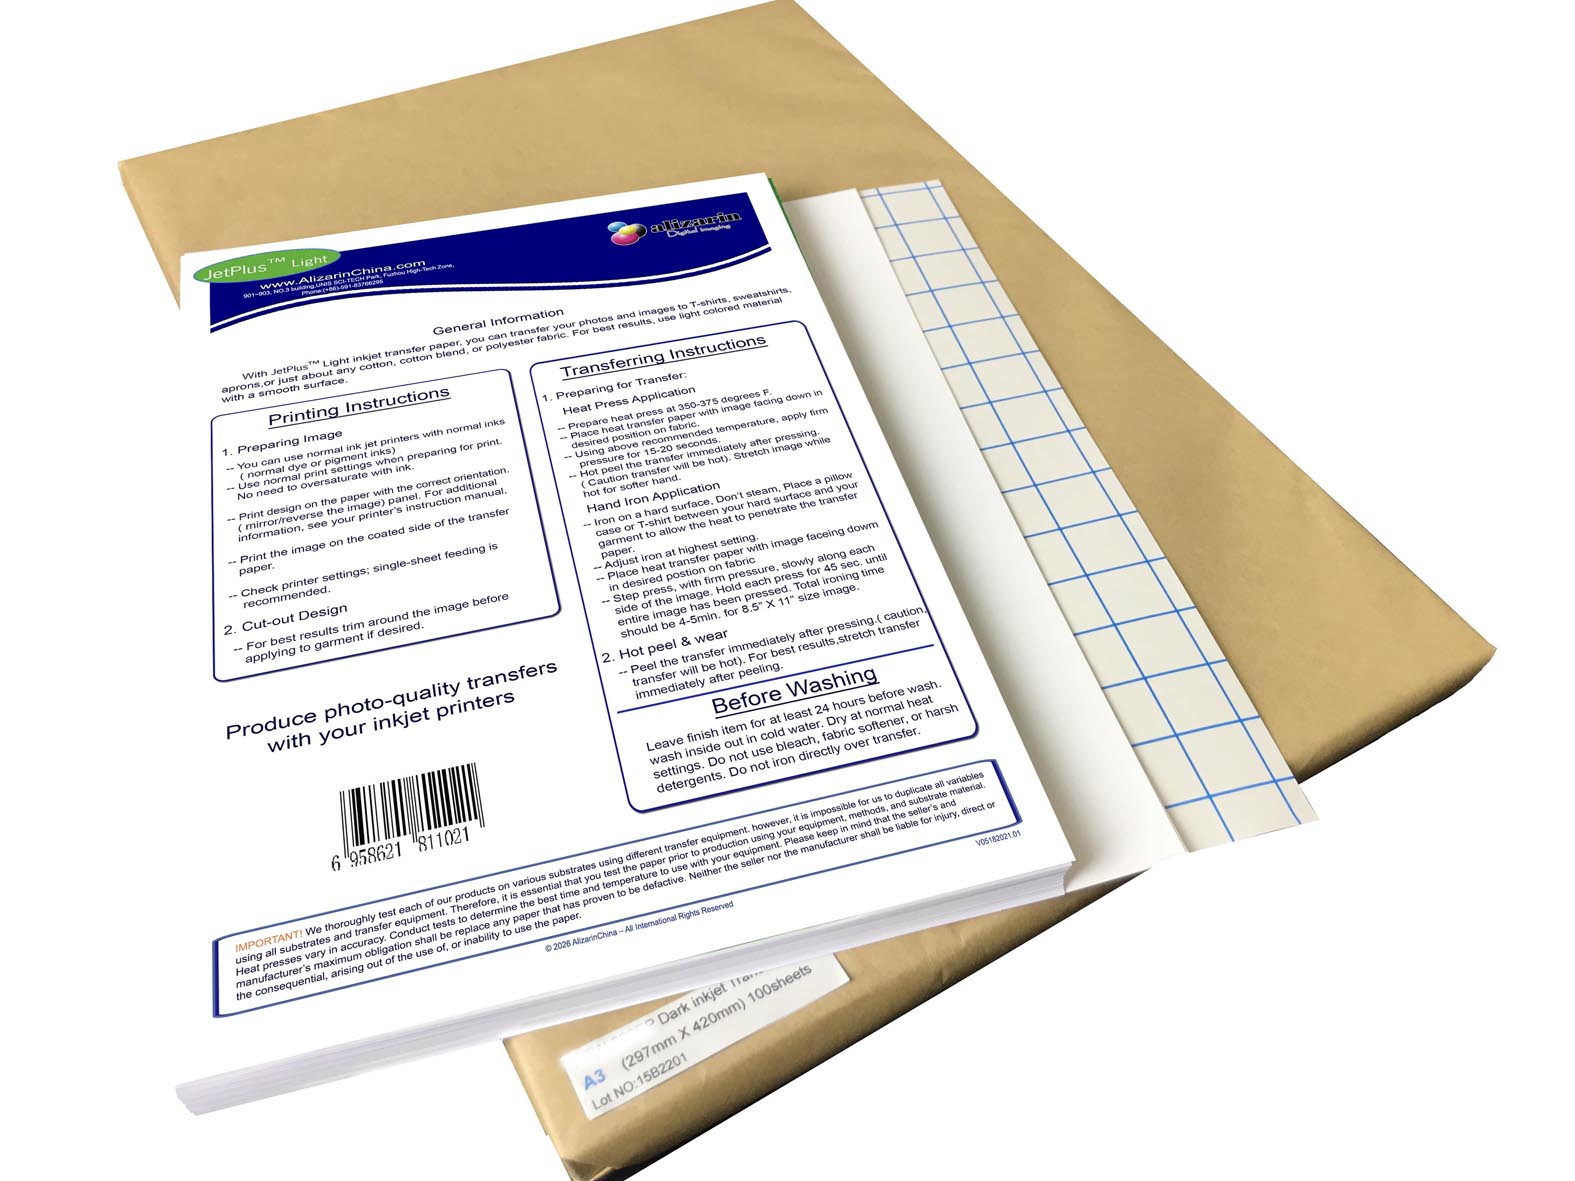
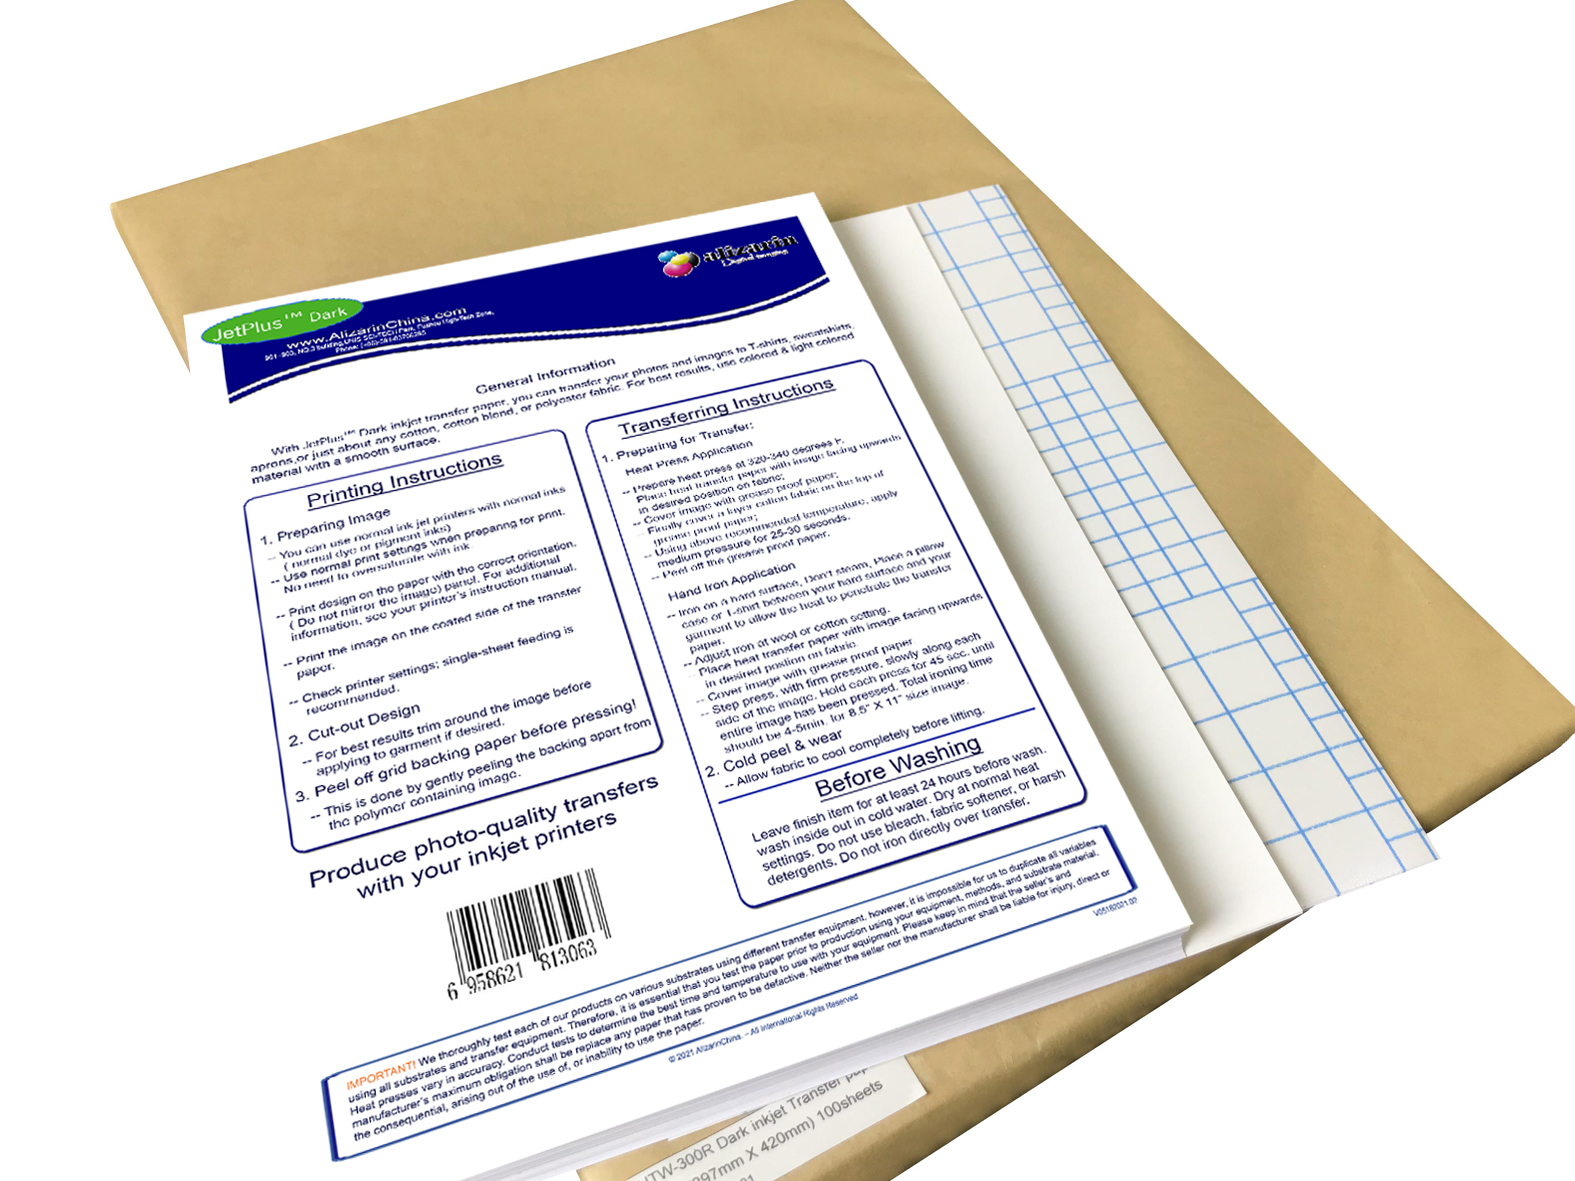
1. Preparing Image
– You can use normal ink jet printers with normal inks ( normal dye or pigment inks)
— Use normal print settings when preparing for print. No need to oversaturate with ink.
— Print design on the paper with the correct orientation. ( Do not mirror the image) panel. For additional information, see your printer’s instruction manual.
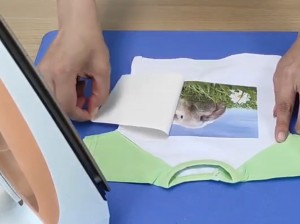
— Print the image on the coated side of the transfer paper.
— Check printer settings; single-sheet feeding is recommended.
2. Cut-out Design
– For best results trim around the image before applying to garment if desired.
3. Peel off grid backing paper before pressing!
– This is done by gently peeling the backing apart from the polymer containing image.
Step by step: heat Transferring on T-shirts
1. Preparing for Transfer:
Heat Press Application
– Prepare heat press at 320-340 degrees F.
— Place heat transfer paper with image facing upwards in desired position on fabric;
— Cover image with grease proof paper;
— Finally cover a layer cotton fabric on the top of grease proof paper;
— Using above recommended temperature, apply medium pressure for 25-30 seconds.
— Peel off the grease proof paper.
Hand Iron Application
– Iron on a hard surface, Don’t steam, Place a pillow case or T-shirt between your hard surface and your garment to allow the heat to penetrate the transfer paper.
— Adjust iron at wool or cotton setting.
— Place heat transfer paper with image facing upwards in desired position on fabric.
— Cover image with grease proof paper.
— Step press, with firm pressure, slowly along each side of the image. Hold each press for 45 sec. until entire image has been pressed. Total ironing time should be 4-5min. for 8.5” X 11” size image.
2. Cold peel & wear
– Allow fabric to cool completely before lifting.
Before Washing
Leave finishing item for at least 24 hours before wash. wash inside out in cold water. Dry at normal heat settings. Do not use bleach, fabric softener, or harsh detergents. Do not iron directly over transfer.