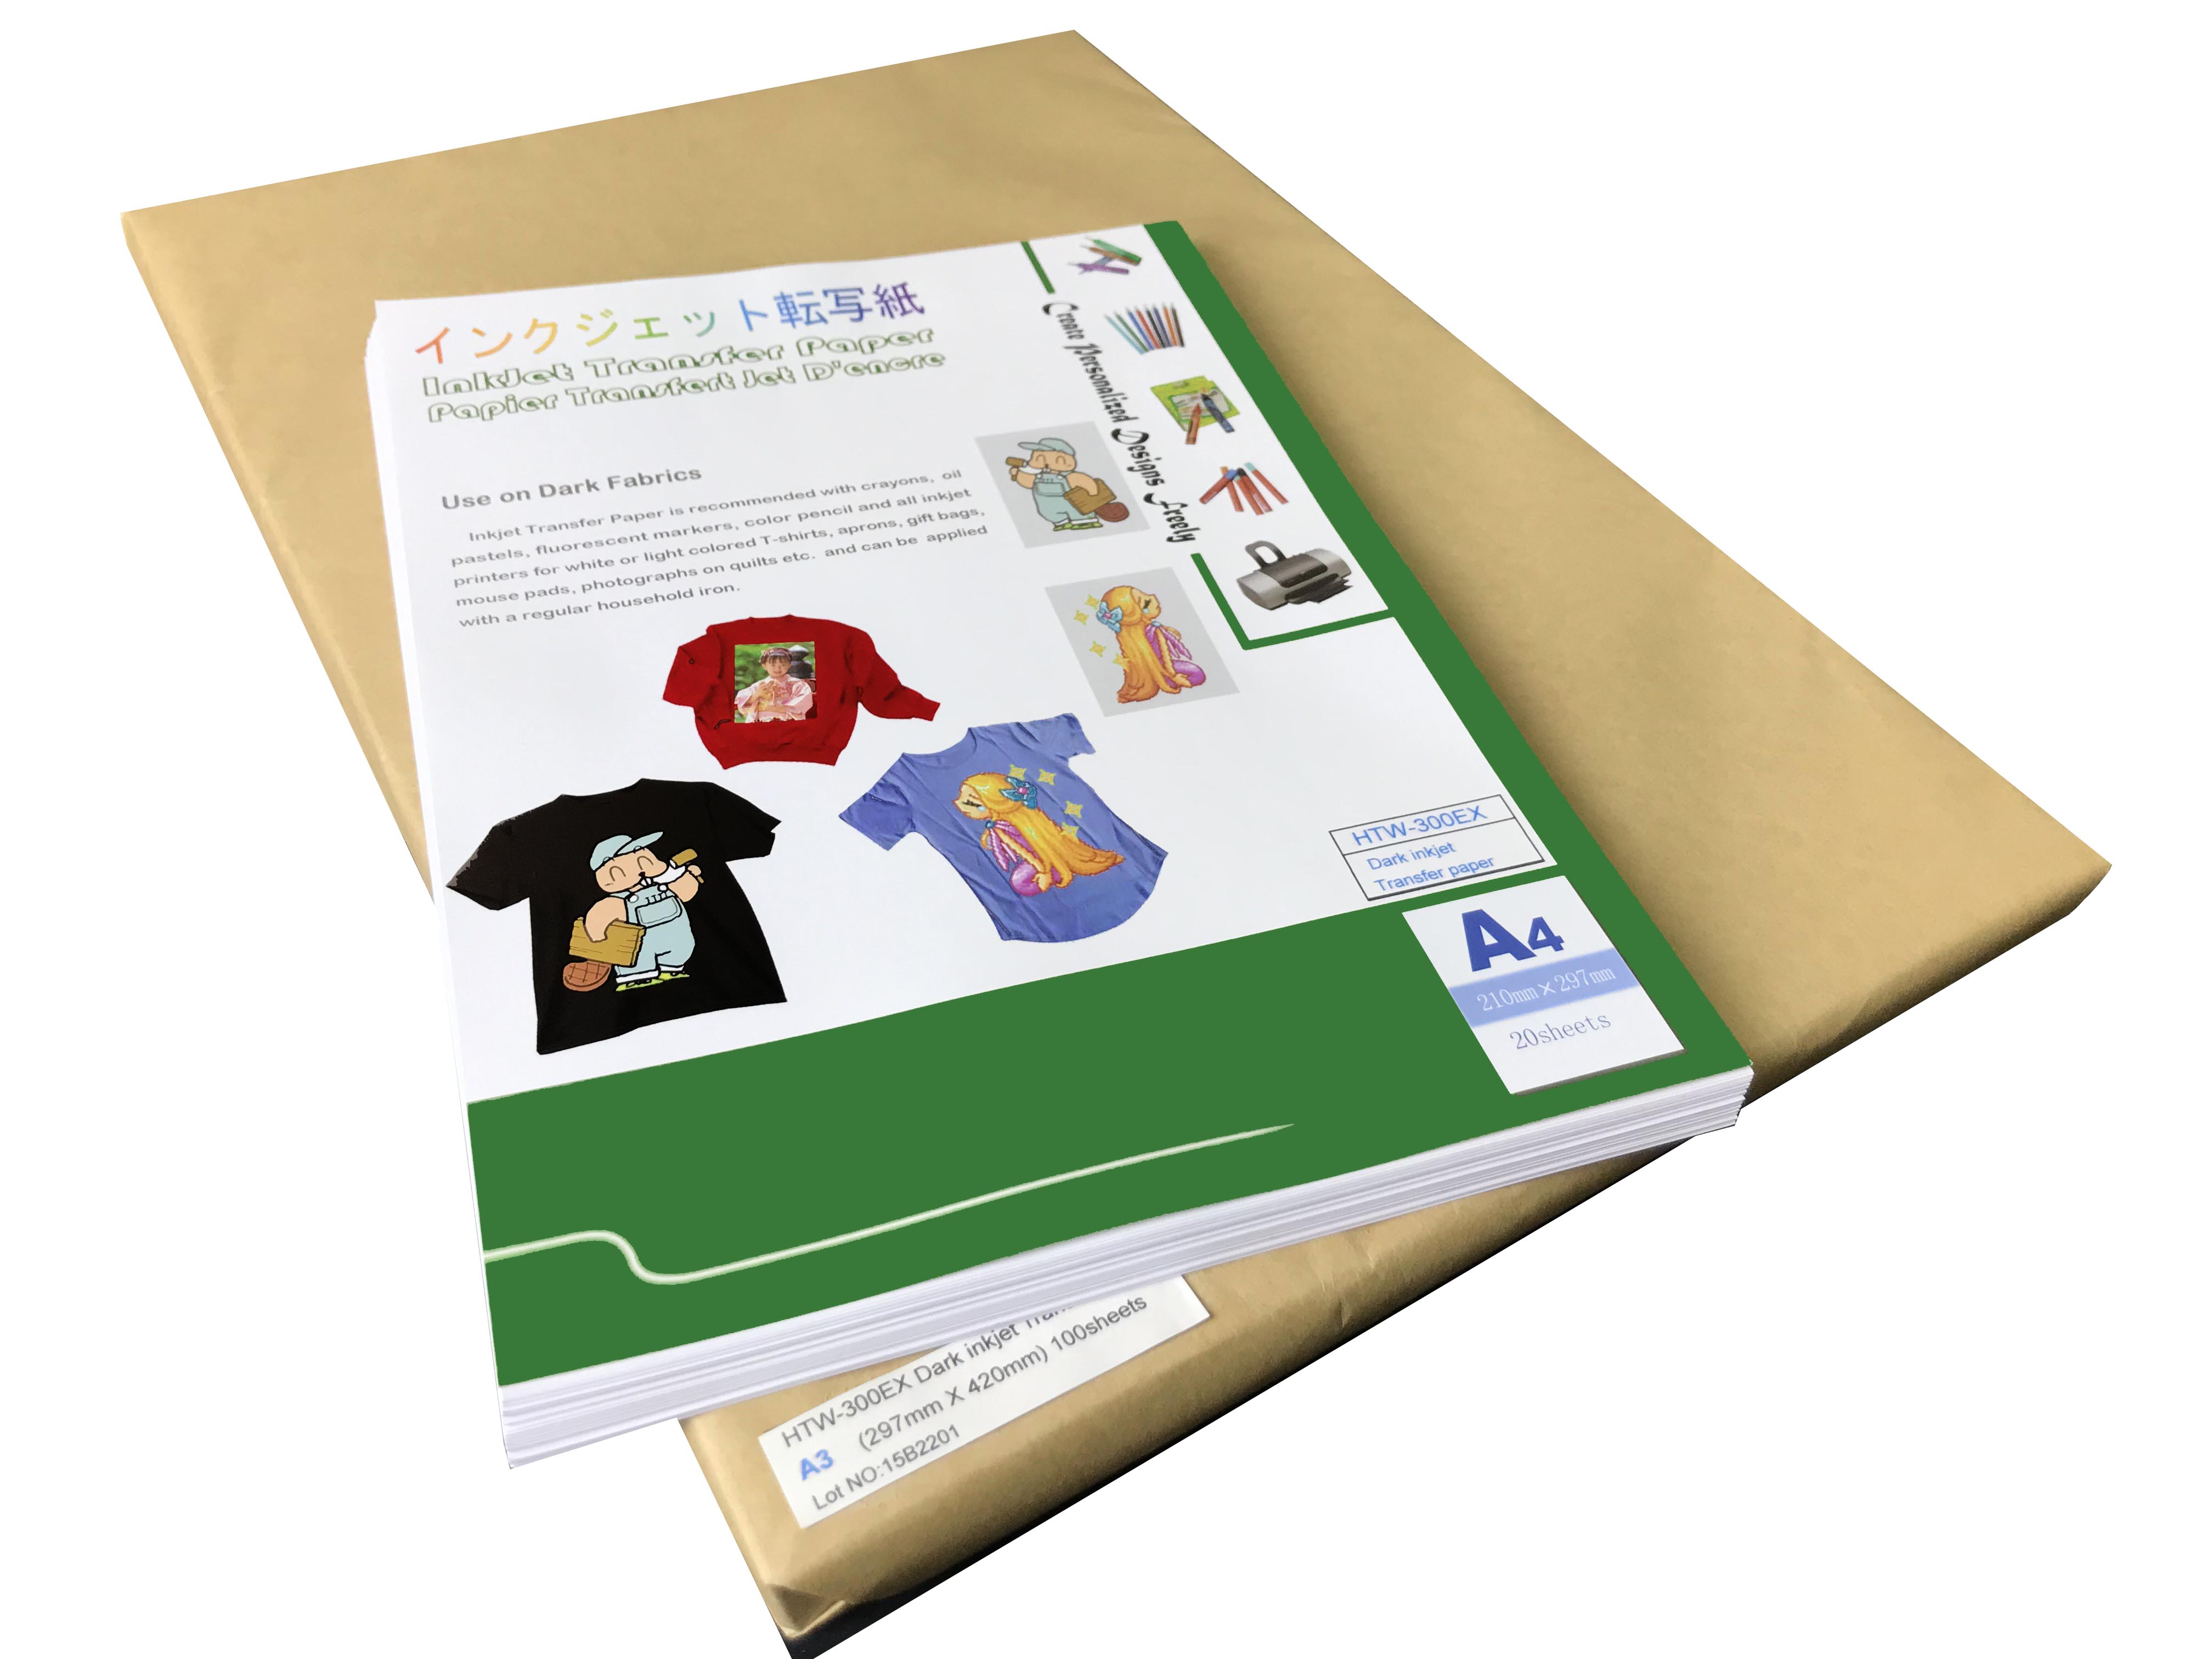
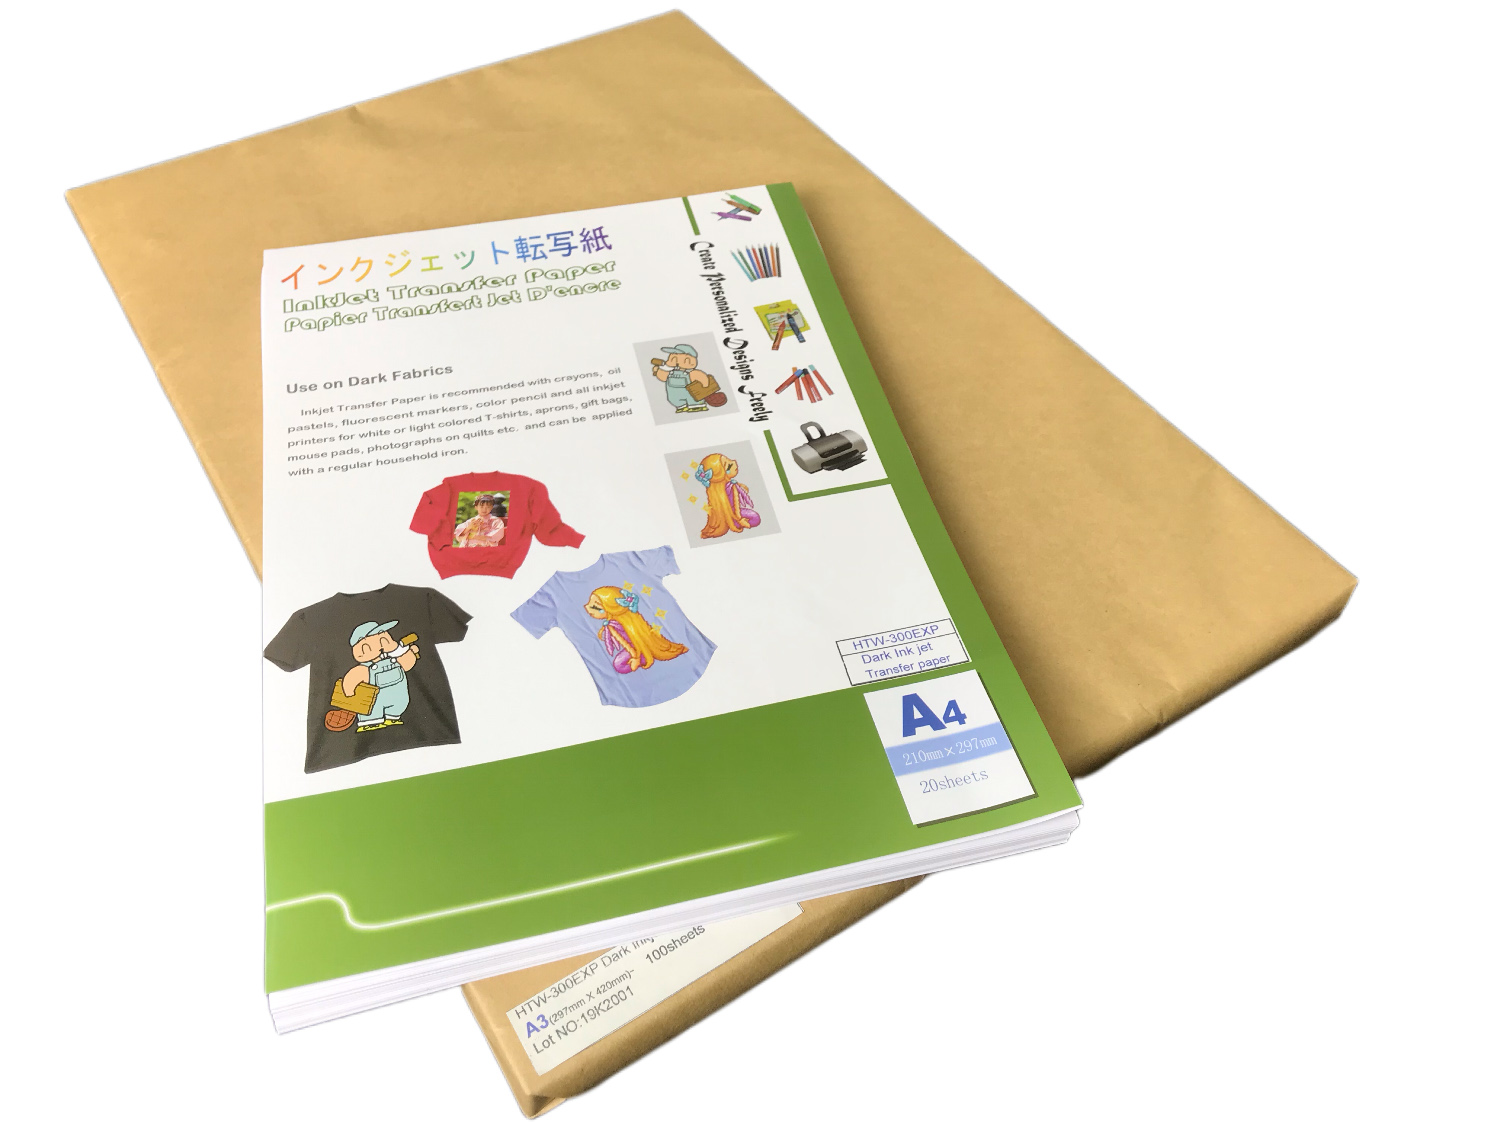
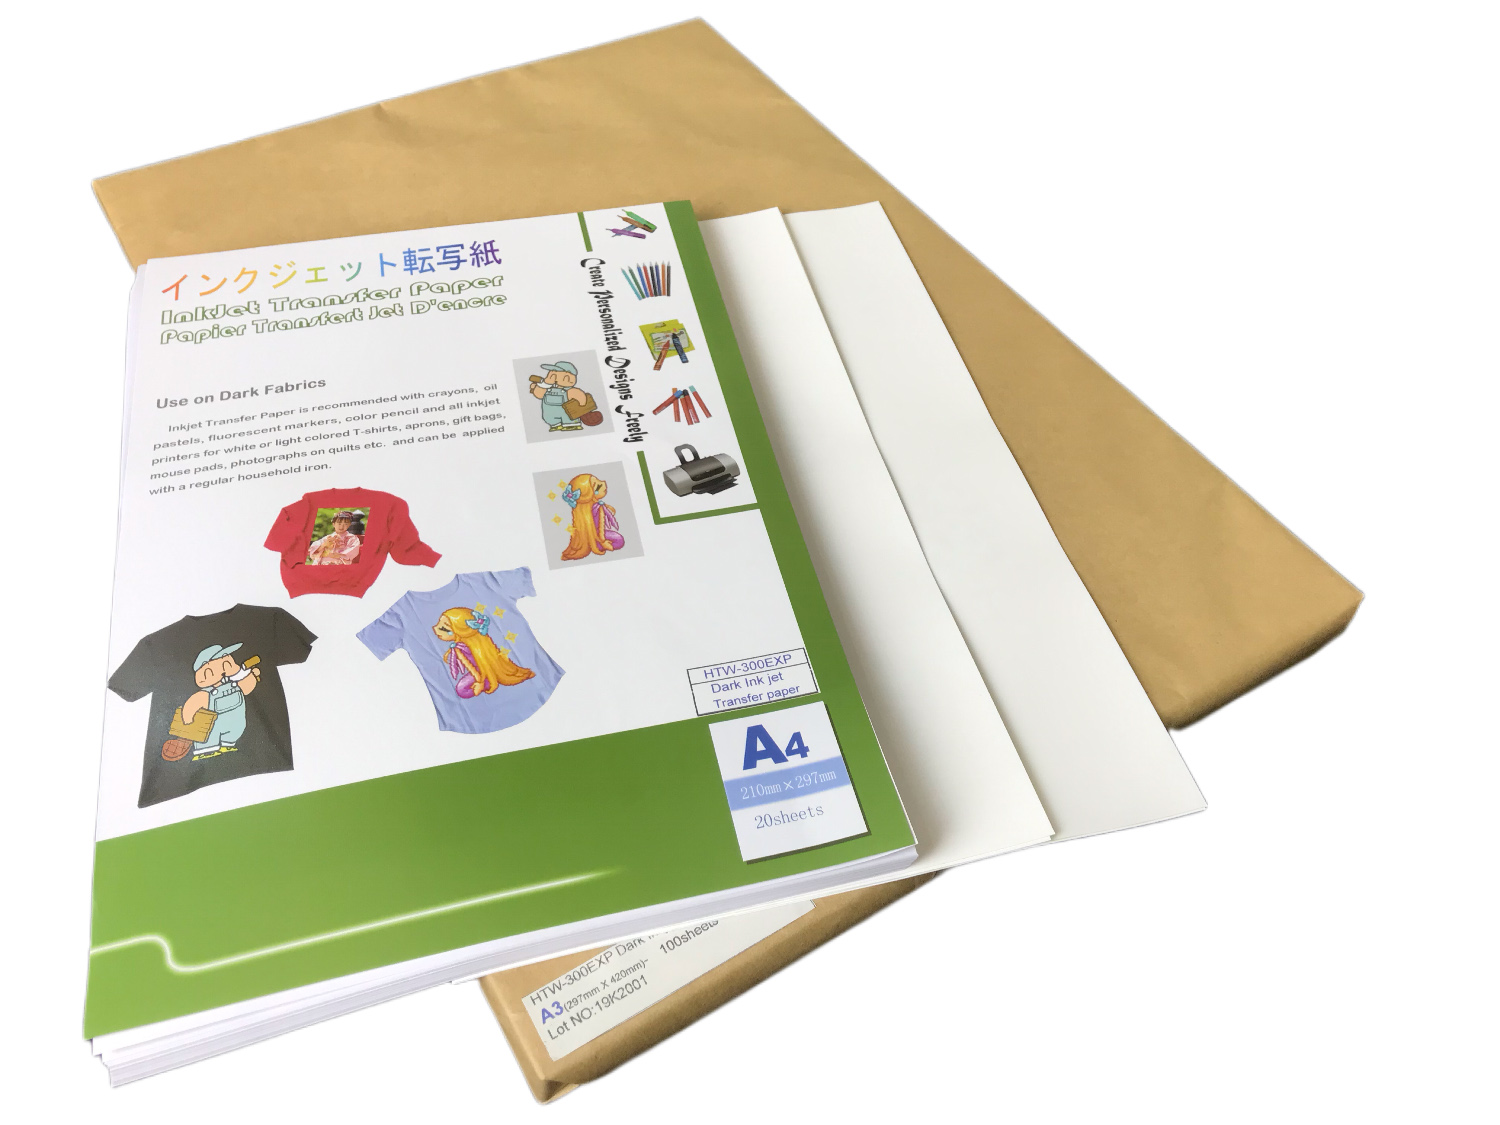
Dark InkJet Transfer Paper

Product Detail
Iron-On Dark InkJet Transfer Paper (Cuttable)
Dark(opaque) inkjet transfer paper ( HTW-300EXP ) can be printed by all inkjet printers with water based dye ink, pigment ink, and then transferred onto dark or light colored 100% cotton fabric, cotton/polyester blend, 100%polyester, cotton/spandex blend, cotton/nylon etc. by a regular household iron, mini heat press, or heat press machine. Decorate fabric with photos in minutes, get great durability with image retaining color, wash-after-wash.
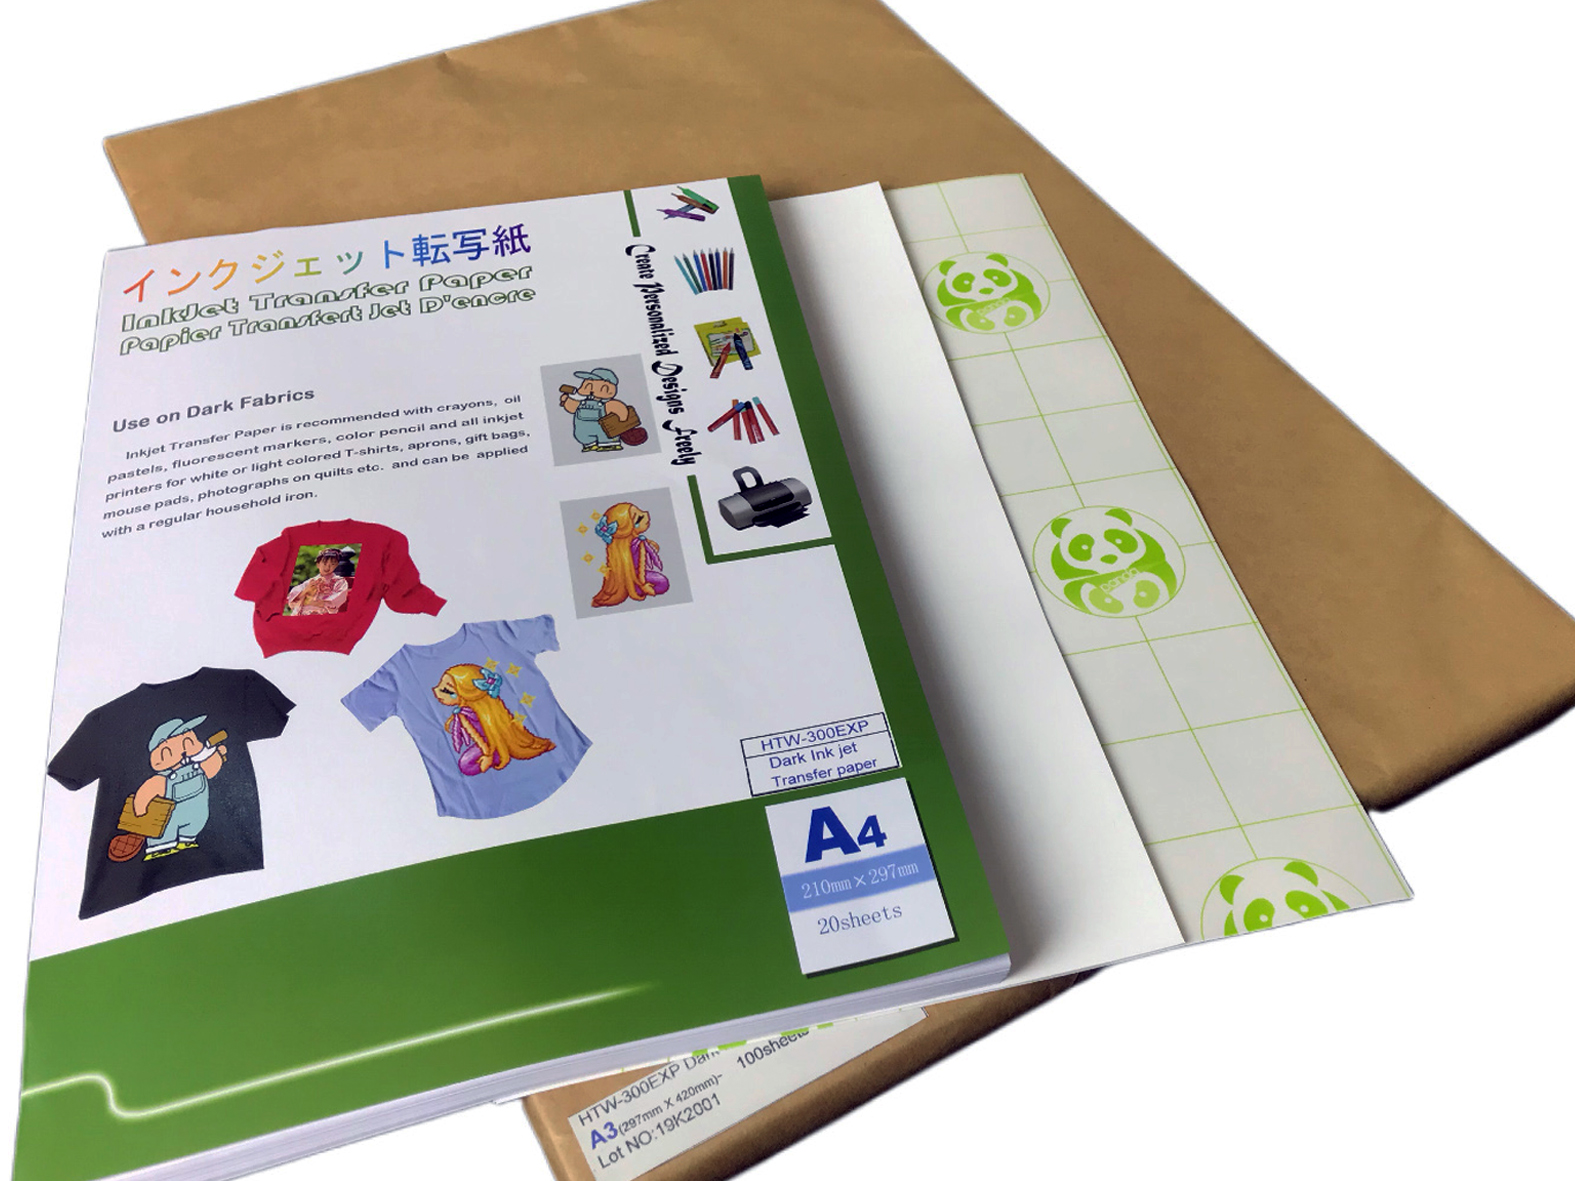
HTW-300EXP is excellent washable after transferring, and fine cuttable by cutting plotter, so It is idea for printing by inkjet printers, then cut by desk cutting plotter such as Panda Mini cutter, Silhouette CAMEO, GCC i-Craft, Circut etc. to make a design.
Advantages
■ Printed by inkjet printers with normal inks, sublimation inks, and painted by crayons, oil pastels etc.
■ High printing resolution up to 1440dpi, with bright colors and good color saturation!
■ Fine cutting and good cutting consistency! Good balance of elasticity and fine cutting
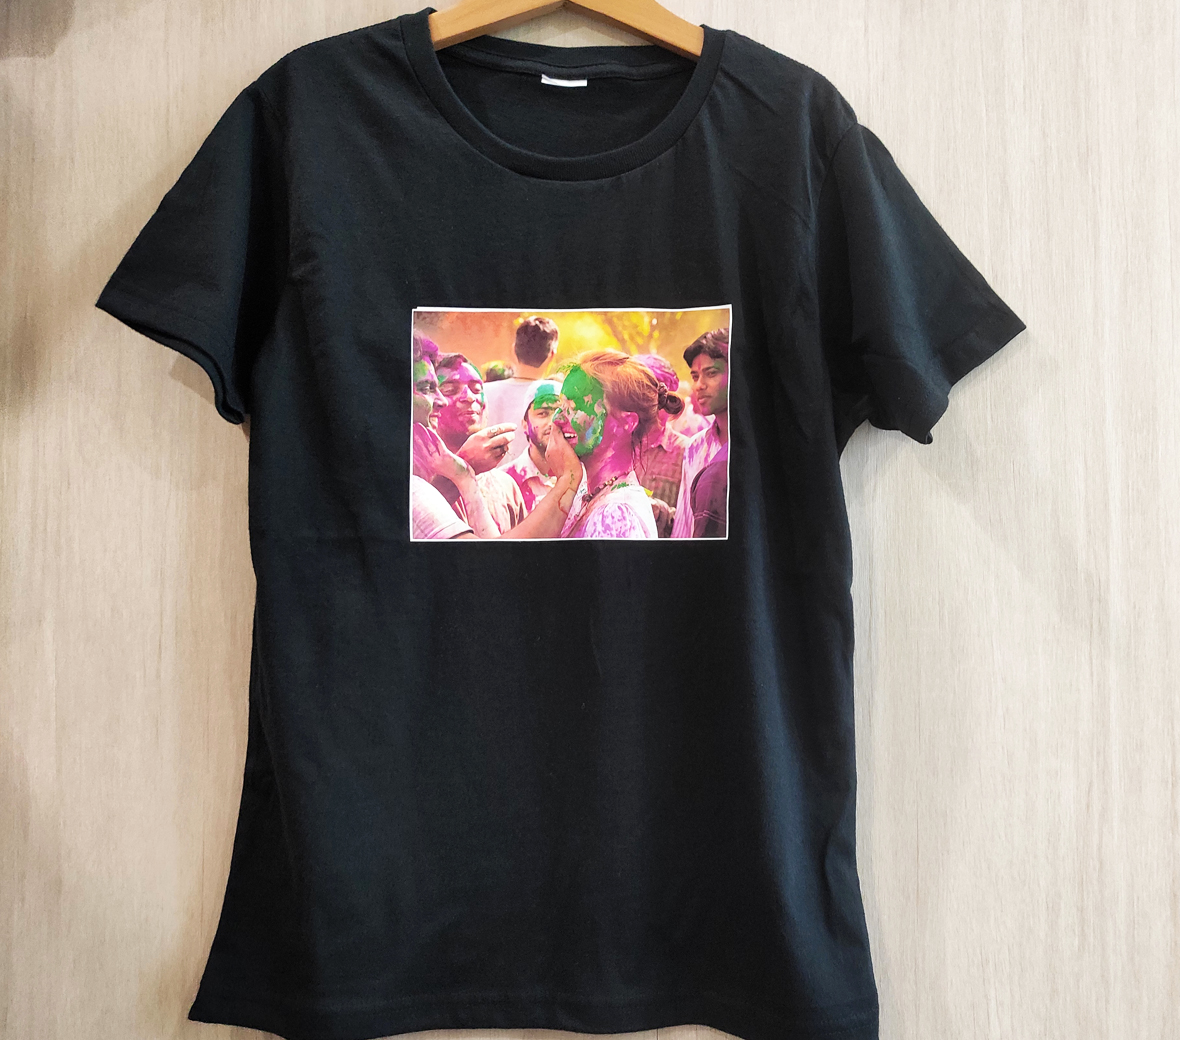
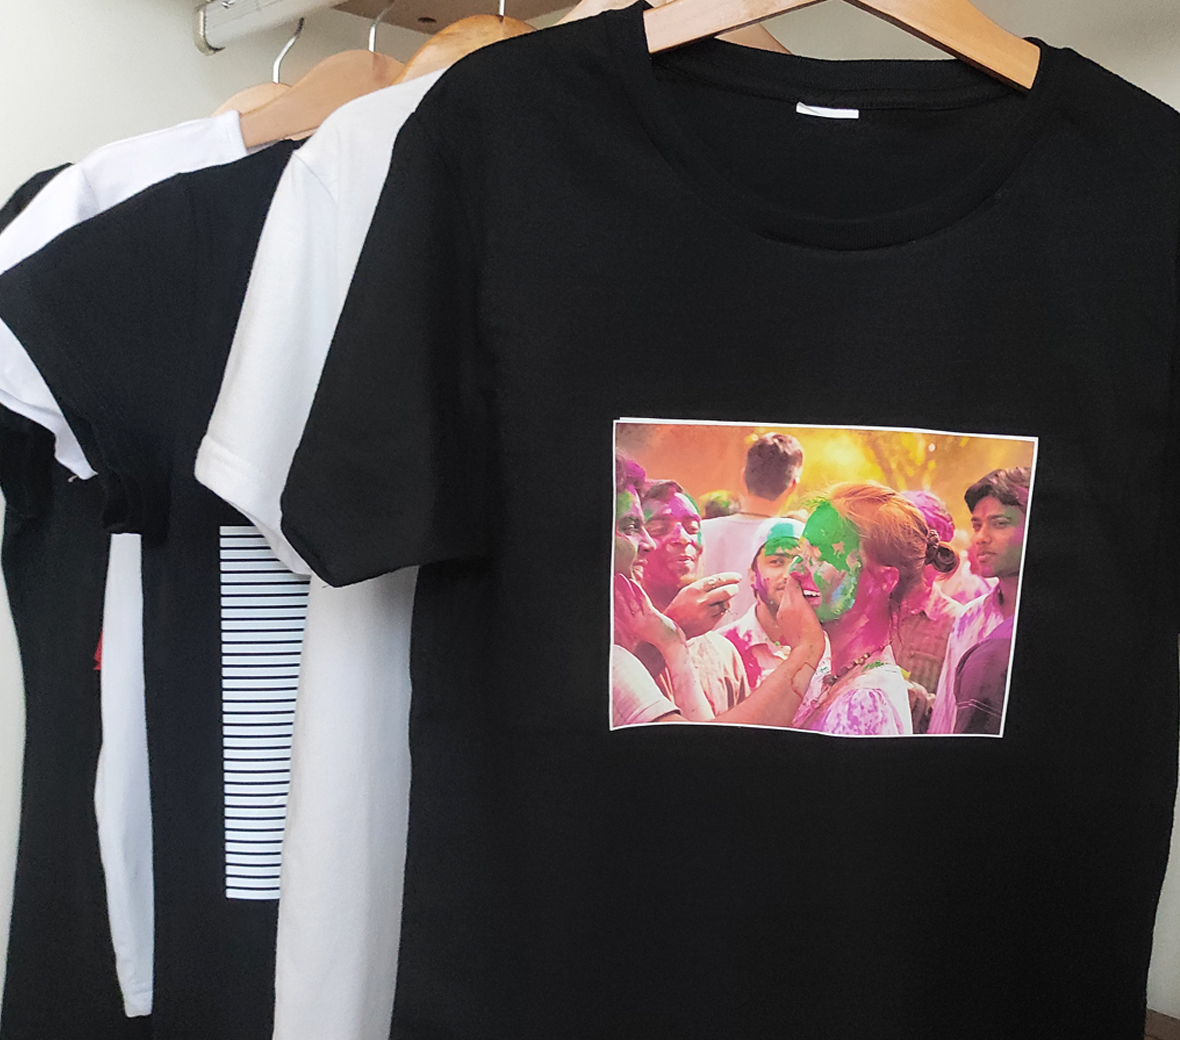
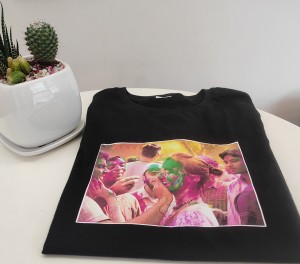
■ Designed for vivid results on dark, white or light-colored cotton or cotton/polyester blend fabrics
■ Ideal for personalizing T-shirts, canvas bags, aprons, gift bags, sportswear, uniform, photographs on quilts etc.
■ Iron on with a regular household iron, mini heat press, heat press machines.
■ Good washable and keep coloration
How to use Dark InkJet Photo Transfer Paper (HTW-300EXP) with an Home Iron, or Mini Heat Press
Applicable printers and inks
Product Uasge
4.Printer Recommendations
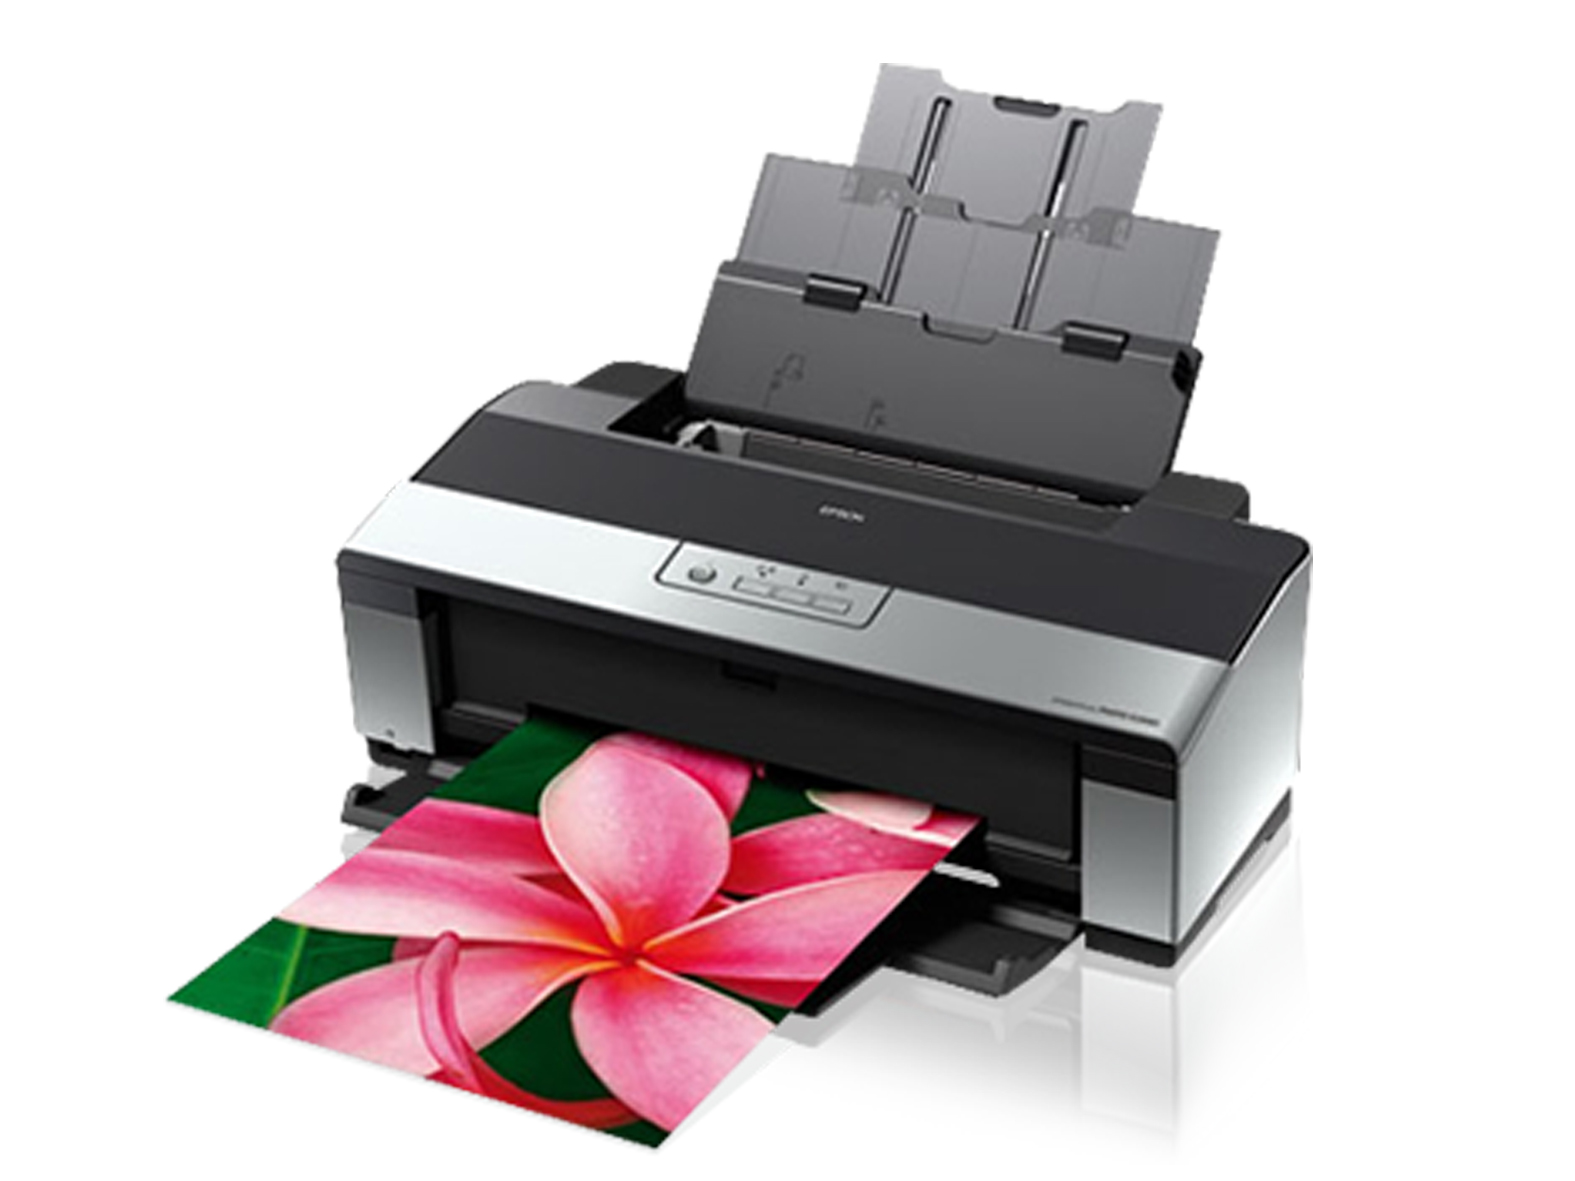
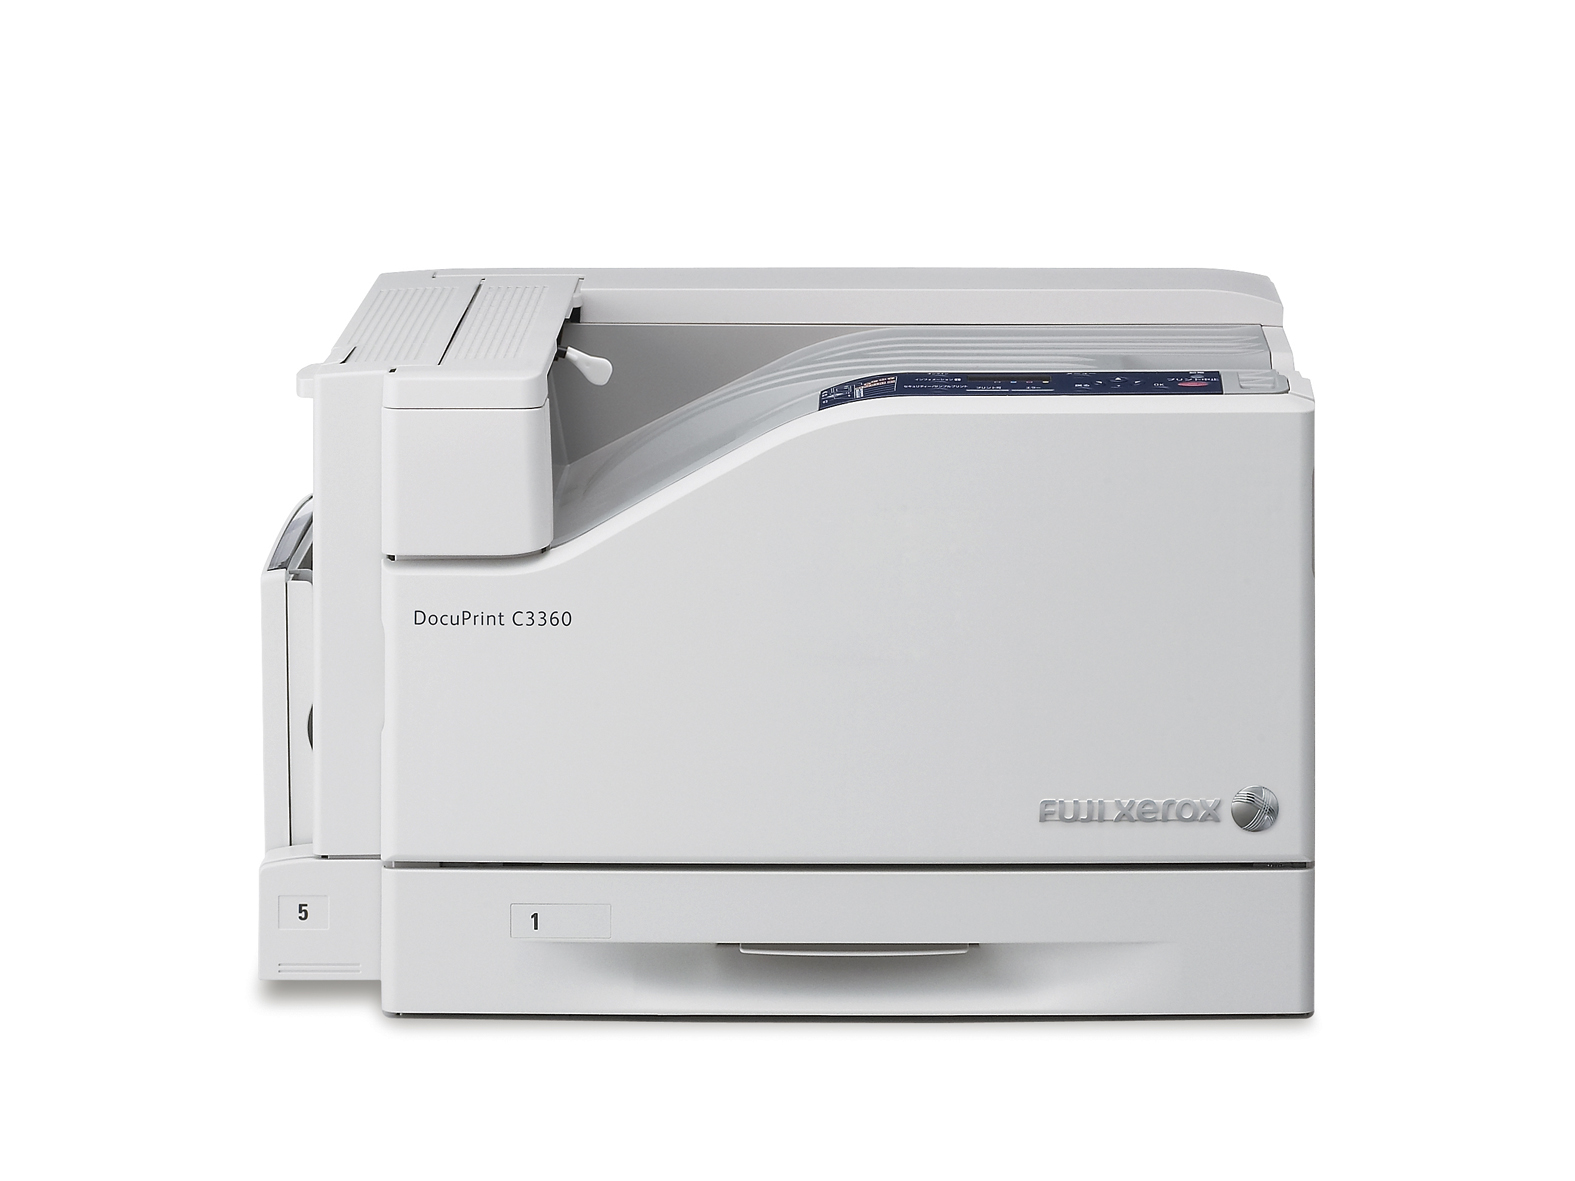
It can be printed by all kinds of inkjet printers such as : Epson Stylus Photo 1390, R270, R230, PRO 4400,Canon PIXMA ip4300, 5300, 4200, i9950, ix5000, Pro9500,HP Deskjet 1280, HP Photosmart D7168 , HP Officejet Pro K550 etc. and some of laser printers or color lasers Machines such as: Epson AcuLaser CX11N, C7000, C8600, Fuji Xerox DocuPrint C525 A, C3210DX, Canon CLC1100, CLC113, Konica Minolta bizhub C series.
5.Printing setting
Quality Option: photo(P), Paper Options: Plain papers. and the printing inks is ordinary water-based dye, pigment ink or sublimation ink.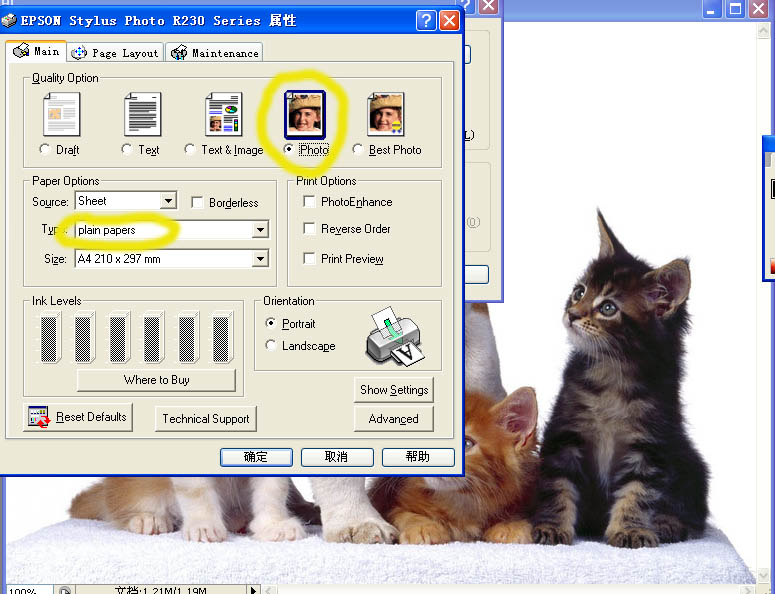
6.Iron-On transferring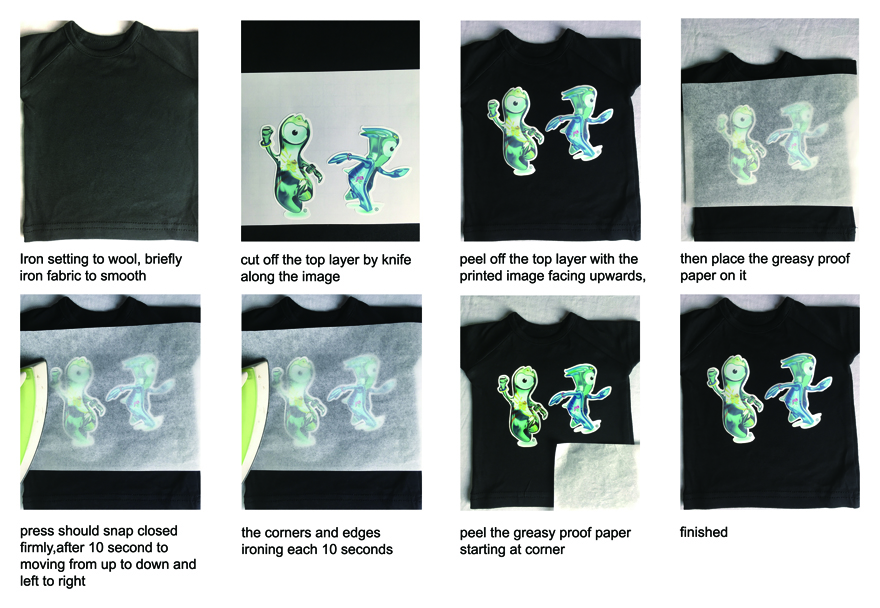
a. Prepare a stable, heat-resistant surface suitable for ironing on.
b. Preheat the iron to the wool setting. Do not use the steam function
c. Briefly iron the fabric to ensure that it is completely smooth
d. Put transfer paper into inkjet printer for printing with coated side up, After drying for several minutes.
e. The printed image will be cut off with a cutting tool, and the white side of the image will be kept at about 0.5cm to prevent the ink from seeping and staining the clothes.
f. Peel the image line off from the backing paper gently by hand, place the image line face upwards on the target fabric, then cover a greaseproof paper on the surface of the image, finally, cover a layer of cotton fabric onto the greaseproof paper. Now, you can iron the cotton fabric thoroughly from left to right and up to down.
g. When moving the iron, less pressure should be given. Don’t forget the corners and edges
h. Continue ironing until you have completely traced the sides of the image. This entire process should take about 60-70 seconds for an 8”x 10” image surface
i. After ironing, move away cotton fabric, then cooling for about several minutes, Peel the grease proof paper starting at the corner
j. It is possible to use the same the grease proof paper five times or more, if there are no residual inks, Please keep the grease proof paper, Maybe, You will use it next time.
7.Heat press transferring
1). Setting a heat press at 165~175°C for 25~35 seconds using moderate pressure.
2). Briefly heat the fabric for 5 second to ensure that it is completely smooth.
3). Leave the printed image to dry for approx.5 minutes, cut out the image around the edges by cutting plotter.
4). Place the adhesive ployester film on it, then peel the image line off from the backing paper gently by hand.
5). Place the image line facing upwards onto the target fabric
6). Place the cotton fabric onto it.
7). After transferring for 25seconds , move away cotton fabric, then cooling for about several minutes,
Peel the adhesive ployester film starting at the corner.
8.Washing Instructions:
Wash inside out in COLD WATER. DO NOT USE BLEACH. Place into the dryer or do hang to dry immediately. Please do not stretch the image transferred or the T-shirt as this may cause cracking to occur, If cracking or wrinkling does occur, please place a sheet of greasy proof paper over the transfer and heat press or iron for a few seconds making sure to press firmly over the entire transfer again.Please remember to not iron directly on the image surface.
9.Finishing Recommendations
Material Handling & Storage: conditions of 35-65% Relative Humidity and at a temperature of 10-30°C.Storage of open packages: When an open packages of media is not being used remove the roll or sheets from the printer cover the roll or sheets with a plastic bag to protect it from contaminants, if you are storing it on end, use an end plug and tape down the edge to prevent damage to the edge of the roll do not lay sharp or heavy objects on unprotected rolls and do not stack them.